I finally got a relatively rain-free Saturday to install the T2FD antenna up on the roof of the garage. To prep as much as possible, I finished up the bases for the three vertical supports. Here's a picture of one of them:
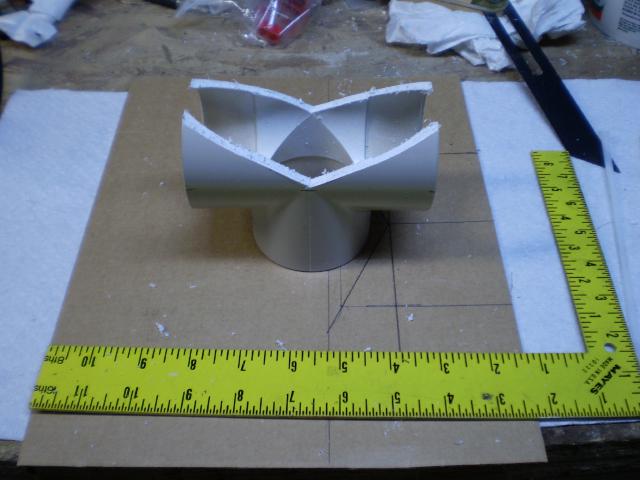
These started out as standard 2" PVC "T" fittings which I cut to fit the ridge of the garage roof. You can see the template I used to mark the key points on the fittings before cutting. I went a little steep on the angle so that they would tend to rest on the ends and not rock in the middle. I just clamped them in a woodworking vise and cut with a hacksaw.
I also pre-cut the ropes to make the installation go faster since the forecast was for some showers randomly through the day.
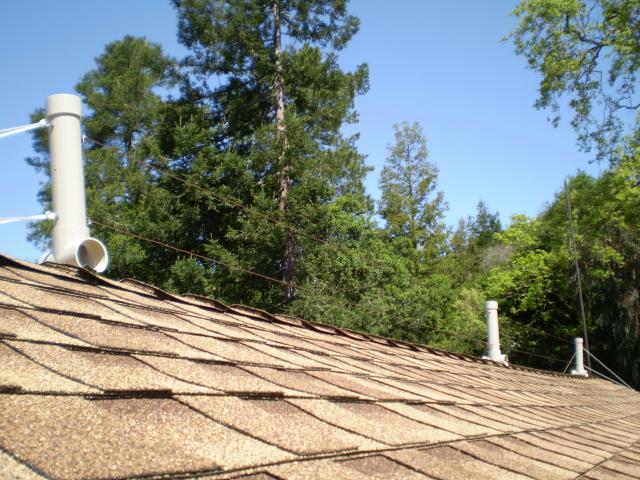
Here's the antenna installed on the roof. You can just about make out the wires in the photo. The ropes at each end are tied to eye bolts that are screwed into the trim boards on the gable ends of the roof. The eye bolts are screwed in at a slight angle so the ropes won't rub on the edge of the roof. I'll probably need to adjust the ropes once everything settles in.
The finished antenna seems to be working great. I have the 20.1 MHz receiver hooked to it and collecting data on Radio Sky-Pipe. I need to work through the image save/FTP upload process so I can get some recordings posted on the site.
Then I'll be working on finalizing the 111 MHz receiver and modifying my WWVB receiver to give me signal strength measurements.
Cheers,
Keith
[ add comment ] ( 68 views ) [ 0 trackbacks ] permalink These started out as standard 2" PVC "T" fittings which I cut to fit the ridge of the garage roof. You can see the template I used to mark the key points on the fittings before cutting. I went a little steep on the angle so that they would tend to rest on the ends and not rock in the middle. I just clamped them in a woodworking vise and cut with a hacksaw.
I also pre-cut the ropes to make the installation go faster since the forecast was for some showers randomly through the day.
Here's the antenna installed on the roof. You can just about make out the wires in the photo. The ropes at each end are tied to eye bolts that are screwed into the trim boards on the gable ends of the roof. The eye bolts are screwed in at a slight angle so the ropes won't rub on the edge of the roof. I'll probably need to adjust the ropes once everything settles in.
The finished antenna seems to be working great. I have the 20.1 MHz receiver hooked to it and collecting data on Radio Sky-Pipe. I need to work through the image save/FTP upload process so I can get some recordings posted on the site.
Then I'll be working on finalizing the 111 MHz receiver and modifying my WWVB receiver to give me signal strength measurements.
Cheers,
Keith

 ( 3.1 / 193 )
 Calendar


